
Outdoor lighting does more than illuminate your property; it defines how your home looks and feels after sunset. A well-planned system enhances curb appeal, improves safety, and creates a welcoming environment for family and guests. That’s why many homeowners turn to landscape lighting services to ensure their outdoor lighting is both functional and visually balanced.
According to the U.S. Department of Energy, LED lighting uses at least 75% less energy and lasts up to 25 times longer than traditional incandescent lighting. This makes modern landscape lighting not only a design upgrade but also a long-term efficiency investment.
Step 1: Define Your Lighting Goals and Zones
The first step in any landscape lighting project is understanding what you want to achieve. Lighting should never feel random; it should be intentional and layered.
Most outdoor lighting plans are divided into zones:
- Accent lighting to highlight architectural features or trees
- Path lighting for walkways and driveways
- Security lighting for entrances and darker areas
- Ambient lighting for patios and outdoor living spaces
A professional landscape lighting design approach ensures each zone complements the others, creating a cohesive look rather than scattered brightness.
Step 2: Choose the Right Fixtures and Technology
Not all lighting fixtures are created equal. The type of fixture you select determines both the performance and aesthetic of your system.
Popular options include:
- Spotlights for dramatic highlights
- Path lights for safe navigation
- Floodlights for security coverage
- Wall-mounted fixtures for patios and entrances
Today, many homeowners prefer LED landscape lighting solutions due to their durability and energy efficiency. LEDs also provide consistent brightness and better color quality, enhancing the overall appearance of your outdoor space.
Step 3: Plan Transformer Capacity and Power Distribution
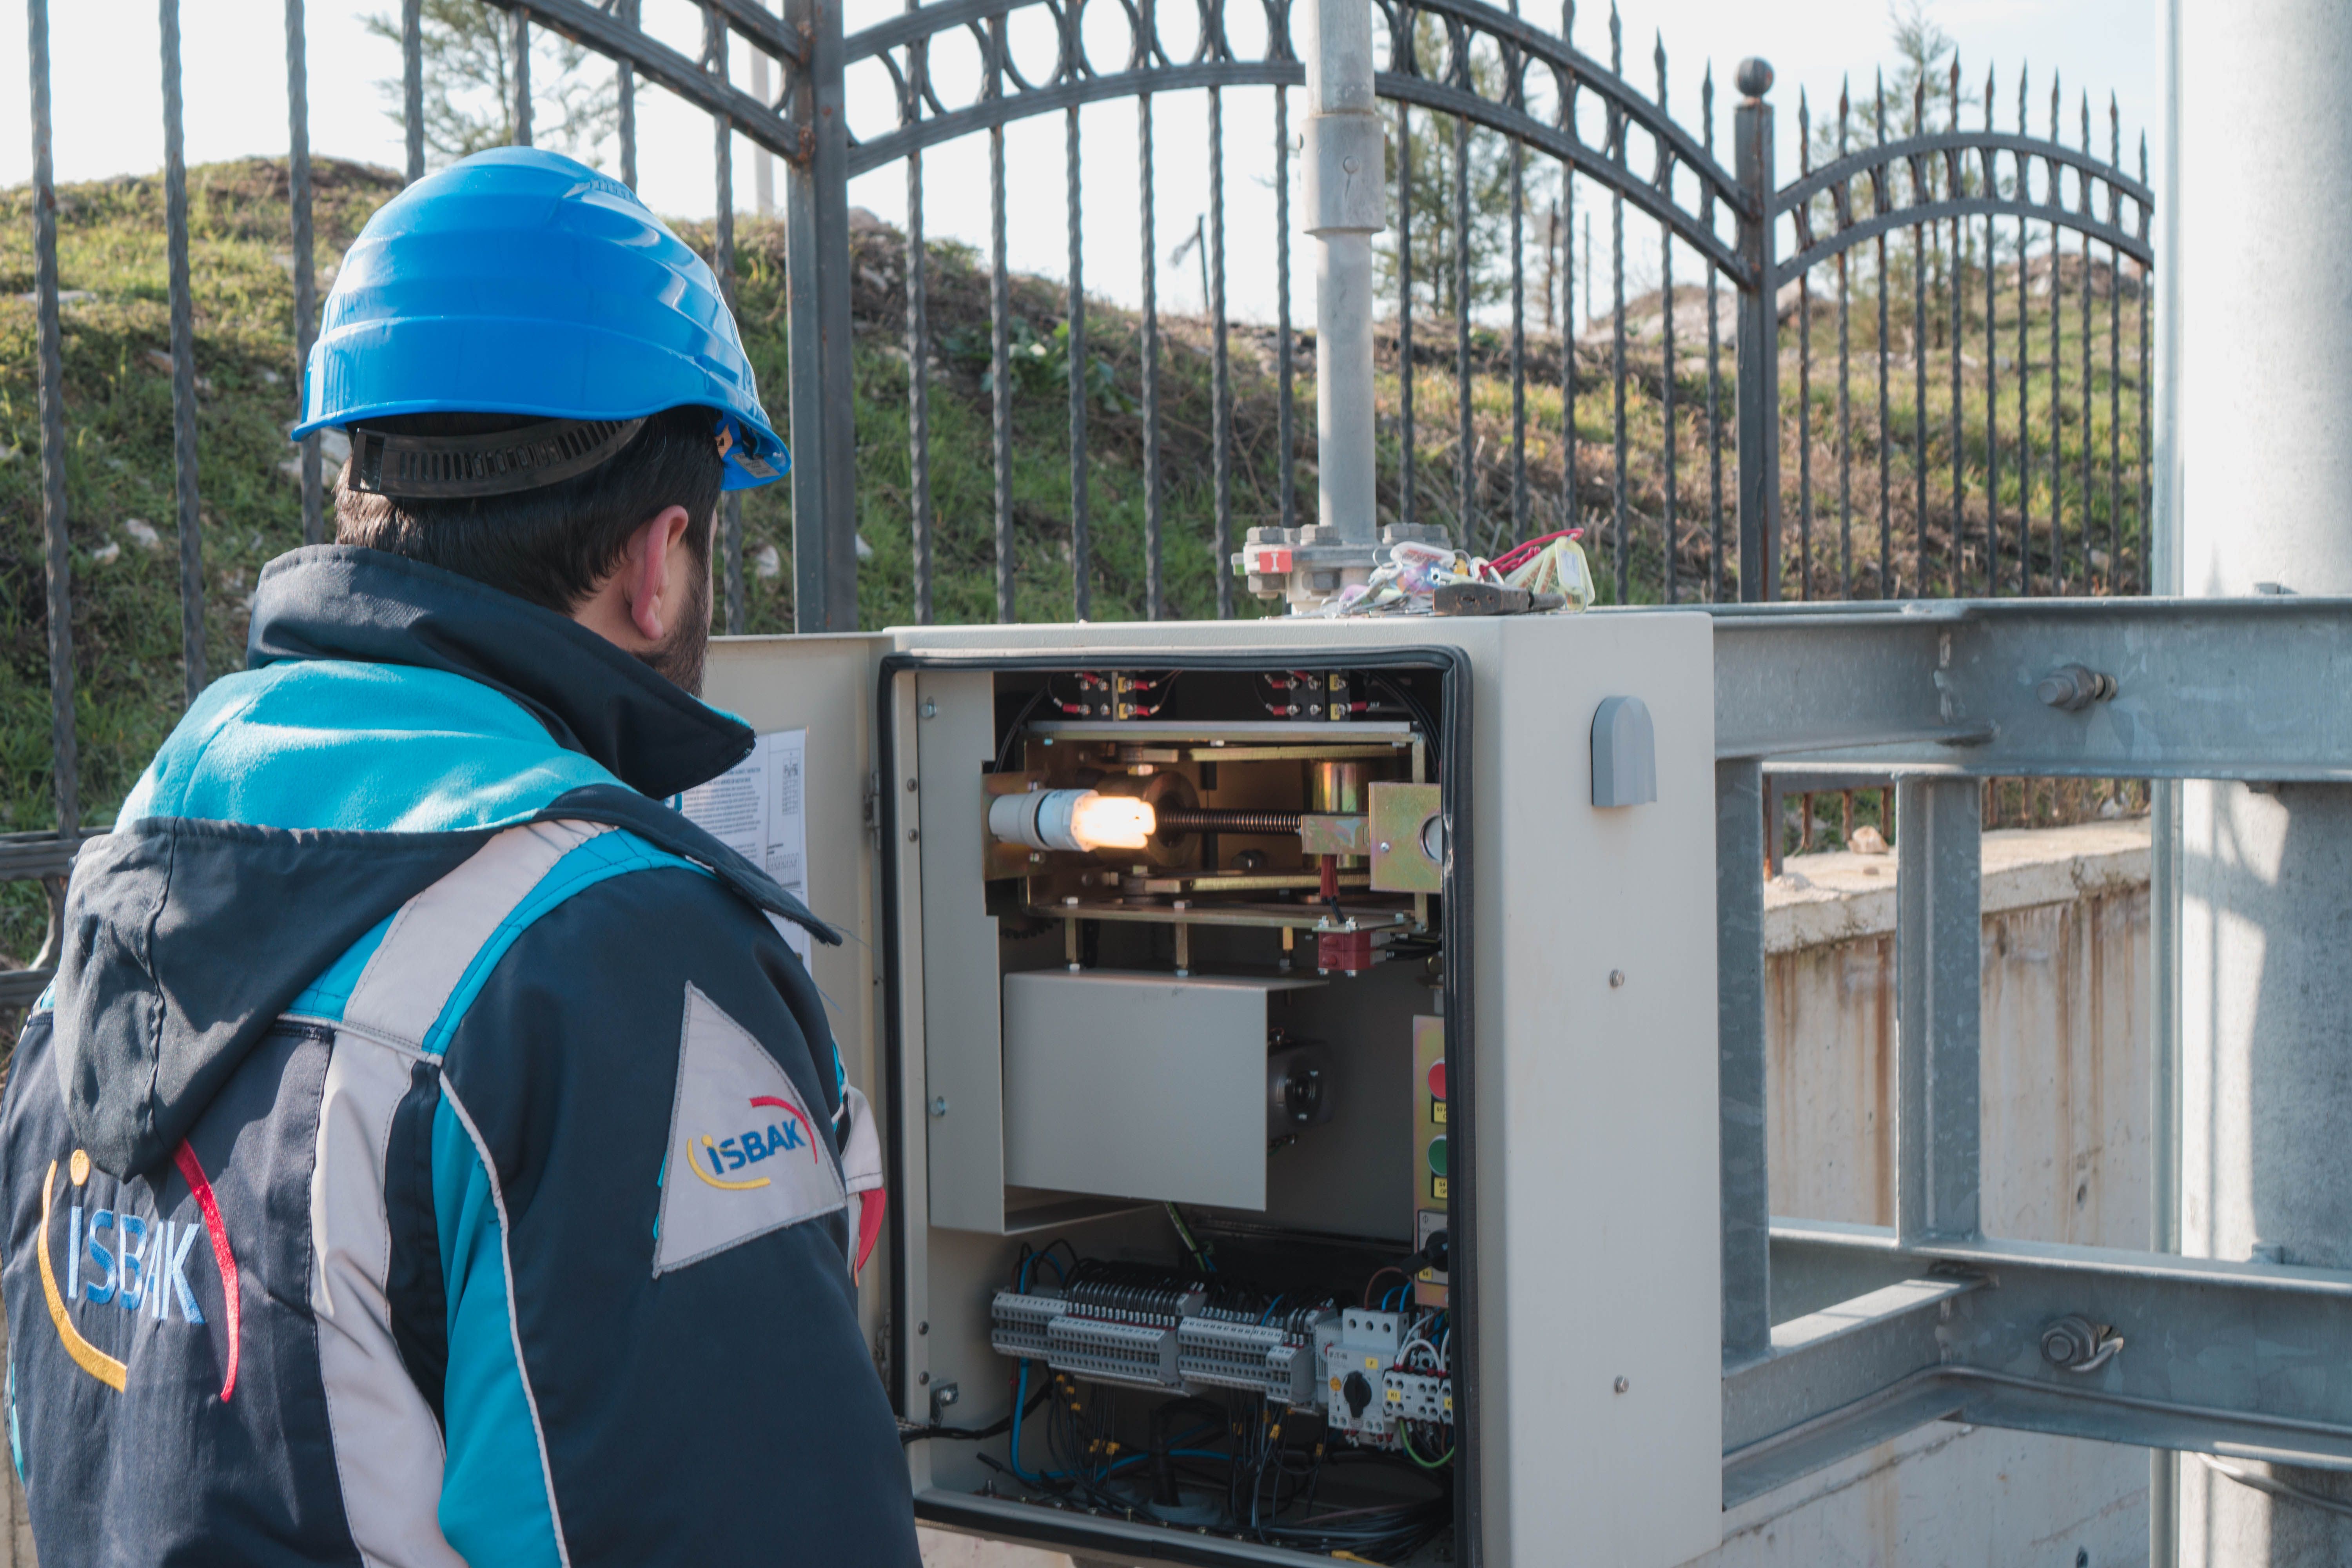
Landscape lighting systems rely on transformers to step down voltage and distribute power safely. Choosing the correct transformer size is critical to avoid dim lighting or overloaded circuits.
This is where professional electrical contractors play a key role. They calculate total wattage requirements, ensure balanced load distribution, and design a system that performs reliably over time.
Proper transformer placement also minimizes voltage drop, ensuring consistent brightness across all fixtures.
Step 4: Design Efficient Wire Routing
Wiring is one of the most overlooked aspects of landscape lighting, yet it directly impacts system performance and longevity.
Key considerations include:
- Short, efficient wire runs to reduce energy loss
- Proper burial depth to protect against damage
- Weather-resistant materials for long-term durability
- Clean routing that avoids disrupting landscaping
Professional outdoor lighting installation ensures wiring is installed safely, discreetly, and in compliance with local electrical codes.
Step 5: Install and Position Fixtures for Maximum Impact
Placement is everything in landscape lighting. Even high-quality fixtures won’t perform well if they’re positioned incorrectly.
For example:
- Lights placed too close to walls can create harsh glare
- Poorly angled fixtures can cause uneven illumination
- Over-lighting can wash out the natural beauty of your space
Working with a licensed electrician that homeowners can trust ensures each fixture is positioned for optimal effect, balancing brightness, shadows, and visual appeal.
Step 6: Integrate Smart Controls and Automation
Modern landscape lighting systems often include smart controls for added convenience and efficiency. These features allow homeowners to manage lighting schedules, adjust brightness, and even control systems remotely.
Common upgrades include:
- Timers for automatic on/off scheduling
- Motion sensors for security lighting
- App-based controls for remote access
These systems are typically integrated as part of broader electrical installation solutions, ensuring seamless operation with your home’s electrical infrastructure.
Step 7: Test, Adjust, and Refine the System
Once installed, the system should be tested at night to evaluate real-world performance. This step allows for fine-tuning fixture angles, brightness levels, and coverage areas.
Small adjustments can make a significant difference in achieving a polished, professional look. This attention to detail is what separates DIY setups from professionally installed systems.
Step 8: Maintain for Long-Term Performance
Even the best systems require occasional maintenance. Cleaning fixtures, checking connections, and replacing components when needed helps preserve performance and appearance.
Professional residential electrical services often include maintenance plans to keep your system running efficiently year after year.
Why Professional Installation Matters
While DIY kits are available, landscape lighting involves more than plugging in fixtures. It requires careful planning, technical expertise, and an understanding of electrical systems.
Improper installation can lead to:
- Uneven lighting
- Electrical hazards
- Premature system failure
Working with experienced professionals ensures your investment delivers both immediate impact and long-term reliability.

Transform Your Outdoor Space with Expert Lighting
Landscape lighting is one of the most effective ways to elevate your home’s exterior. From highlighting architectural details to improving safety and usability, the right system makes a lasting impression.
Powered by H delivers expert landscape lighting services, combining thoughtful design with precision installation. Whether you’re starting from scratch or upgrading an existing system, our team provides tailored solutions that bring your outdoor space to life.
Contact Powered by H today to create a lighting system that enhances your home’s beauty, safety, and value, night after night.